Last Updated on
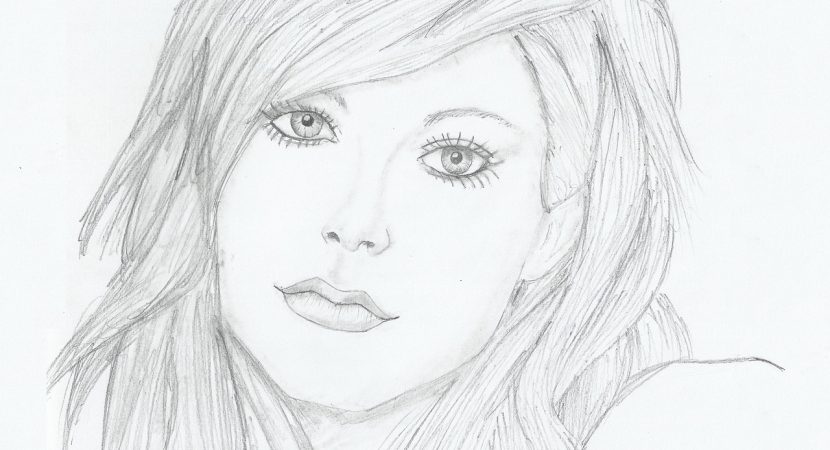
Getting the head right in a portrait painting is a task in itself. For a start, the head is never a perfect circle, it is mostly in the proportion of an oval shaped something. The head is the most striking feature in a portrait drawing and if you cannot do it to satisfaction, the entire drawing will look flat and unrealistic. In this article we give you a step-by-step guide on how to get the head right in a portrait drawing.
1. Make An Oval
Sketch out an imperfect oval for the outline of the head. But be careful about the width and breadth of the outline. Make sure that you don’t use a blunt pencil to draw the outline of the head. You can even practise doing the outline for the head on handy papers a couple of times before you make the final outline so that you don’t have to keep rubbing over and over again to get the desired shape.
2. Eyes, Nose, Mouth
The eyes, nose and mouth line should be at proportionate distance from each other. You could even divide the face into three halves horizontally to strategically place the three distinct features at the right distance from each other. The nose is always at meeting point between the eyes and nose. However, in saying so it should also be noted that the length and width of the nose might vary from person to person.
A rule of thumb here is that the distance from the eyebrows to the forehead and the distance between the chin and nose is equal so likewise you could draw out light grids to make sure that the distances between the facial features are proportionate, if not accurate.
3. Focus On The Shapes On The Basic Features
Once you get the outline of the face right and locate the facial features at proportionate distance from each other, focus well on the shapes you give to the basic features, this will include the nose, eyes, eyebrows, and mouth line. In the process of drawing these shapes, you will also understand the relationship between these features to each other and be able to observe the details to them. For example, wrinkles and crow’s feet around the eyes. This will help you realise what changes you could further make or what is it that you might have done wrong in sketching them.
4. Get The Finer Details Right
Once the above points have been checked correctly, observe closely as well as from far what are the mistakes you made so far and try modifying them. If you feel the distance between the eyes is not equal, correct it now. After you get all the mistakes corrected, check again to see if there are more modifications you need to make. For instance, may be you might realise that the face has been elongated inconsiderately and you could redraw it again. Take a sigh of relief only when you feel you are completely done with the sketch and there are no more modifications that are needed in the portrait painting or drawing.
The basic idea is to get the symmetry right for the face. You need to understand the distances between each feature and the outline them well. Your modifications also have to be consistent and not over the top. Don’t make changes just for the sake of refining the features, or if you feel you want to change the overall look of the face. Tell us about the portrait drawings that you have lately done and share your thoughts with us in the comments below.


Reply