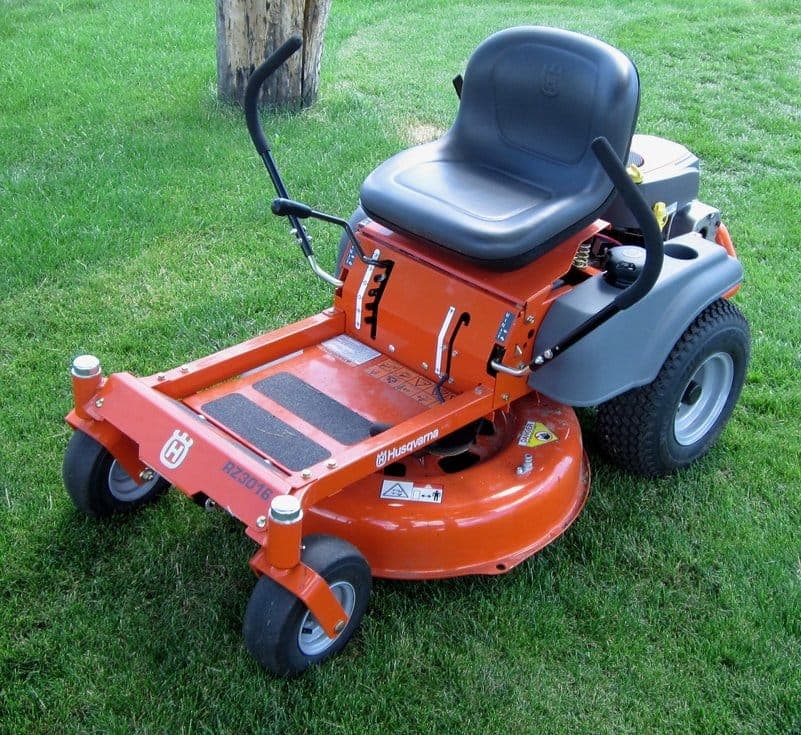
Riding lawn mowers requires maintenance over time. That is a bit more complicated than push mowers and reel mower. One of the most basic and important maintenance tasks is to change the mower tire. But actually, you can do this task by yourself at home. Read through the following steps to see how simple the process is, and then you can do it yourself to get your mower up and running again.
9 Steps to replace a riding lawn mower tire
Step 1 – Turn off the engine

Place the mower on a hard and level surface. Set the parking brake and turn off the engine to make sure the mower will not roll away and that the tire is kept in the right place while you are working with it. Please remember to use gloves while working to protect your hands.
Step 2 – Jack it up
Depending on which type of tire you want to replace, the front or back one, you have to lift the front or the rear of the lawn mower with a jack. After that, use jack stands to safely support the front or the rear frame, and then fix the position of your riding lawn mower.
Step 3 – Remove the wheel
First, remove the dust cap with a screwdriver. Then remove the snap ring which holds the wheel in place. To do this task you will need a special pair of pliers. After that, you can remove the bolt and washer that secure the wheel to the axle. Now you can slide the wheel off the axle.
Step 4 – Let all air out of the tire
To deflate the tire, you need to remove the valve stem cap first. Rotate the valve stem cap counterclockwise with your fingers to remove the cap from the stem. Inside the stem, there is a metal pin in the center. Place the tip of a flathead screwdriver over the top of the metal pin and press the pin inward. The air will begin to release from the tire through the valve stem.
Step 5 – Remove the tire from the rim
Insert a screwdriver tip between the inside of the rim and the bead of the tire. Pry the tire off of the rim by pushing down the screwdriver handle. Insert the second screwdriver close to the first one and continue to pry the tire around the circumference of the wheel to pop the tire off on one side. Place the screwdriver between the second side of the tire, which still stick to the rim, and begin prying off the remaining side of the tire. You just have to do exactly what you have done with the first side.
Step 6 – Get the new tire on
Use some penetrating lubricant or tire lube to lubricate both beads of the new tire so the new tire can easily slide over the edge of the rim. Place the tire onto the rim at an angle (about 45 degrees) and force the rim inside of the tire. Use 2 large slot screwdrivers to insert the bead into the rim. If you have an inner-tube, you can also insert it now. After that, use a ratchet strap to secure the beads.
Step 7 – Inflate the tire
Attach the air hose to fill the tire with air at the recommended pressure.
Step 8 – Reinstall the wheel
Position the wheel back onto the axle and secure it with the bolt. Then, reinstall the dust cap.
Step 9 – Get the mower back to the ground
Now you can remove the jack stands and lower the lawn mower to the ground. It is ready for the next use.
Conclusion

After reading this article, you can see that if we divide the whole changing mower tire process into 8 small steps, then it will become much easier, and we can handle it at home by ourselves. The hardest step of this process is step 4: remove the tire from the rim. You may feel a little confused if you have never done it before, but don’t worry. We have already attached a video guiding the way to do this step. Just follow the instructions in this video, and you will be able to complete this task easily.
Last Updated on


Reply