Last Updated on
If the grass seems greener on the other side, it might because your neighbor put down the proper sodding. There’s no need to be jealous of anyone else’s lawn when you can create a luscious bed of grass too.
Have you considered sod? Maybe you have questions about how to choose the right kind and install it? This blog will answer those so you can have the dream lawn you want.
What Is Sod?
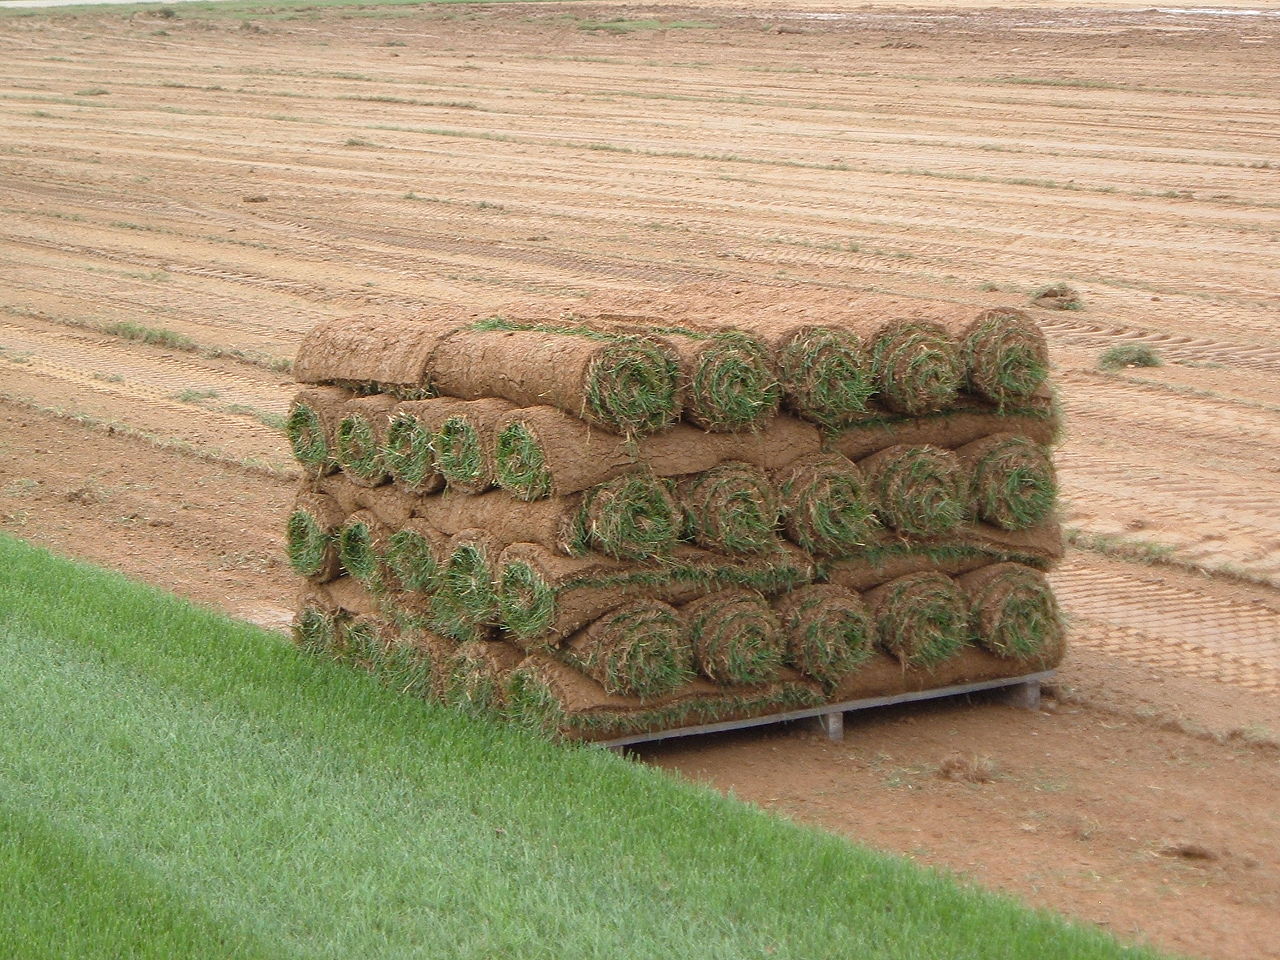
Dream lawns can be easily created using sod, but what is it anyway? In contrast to a seed lawn, a sod lawn involves using mature turf that’s already been planted and grown. The turf is then rolled out like a rug.
Choosing the Right Sod
When choosing sod, be sure to consider your soil type, the amount of sunlight your yard receives, and the climate where you live. There are several different types of sod and each requires different conditions.
The types of sod include:
- Bermuda
- Blue grass
- Centipede
- Fescue
- Augustine
- Zoysia
Note: Sod types are also divided into seasonal categories. You can find warm season and cool season sod.
Installing Your Dream Lawn
When it comes to installation, you can hire a landscaper or roll it out yourself if you’ve got a real green thumb. There are several steps involved in a typical sod installation. We’ve outlined them here.
Step 1: Test Your Soil
To ensure you have the right growing environment, you need to test the soil. You want well-aerated soil with a pH of around 6-7.5. It’s best to test the soil in a few different areas.
Step 2: Measure the Area
Next, measure the area where the sod will be laid so you have enough. Leave enough along the edges so the sod will fit perfectly. You can always cut off excess sod.
Step 3: Prepare the Soil
Before laying the sod, use a rototiller to loosen the soil to a depth of about 6-8 inches below the surface. Add the organic matter of your choosing to improve aeration and enhance water retention.
Organic matter can include things like compost, aged animal manure, green manure, mulch, or peat moss.
Step 4: Rake the Soil
Next, rake the soil to even out the surface and dislodge loose soil particles. Be sure to leave about an inch between the soil and any walkways or sprinkler heads. Once you’re done, water the soil so it’s moist for the installation.
Step 5: Install the Turf
Now you can start unrolling the turf. Be sure to maintain straight lines along sidewalks, driveways, flower beds, patios, and any other features. Smooth out the sod so there are no visible wrinkles or rolls.
Lay your turf in rows, being sure to align the edges of each piece to create tight seams. Smooth out any air pockets and ensure you can’t see any loose soil. Brush topsoil or potting soil into the seams with a large push broom to seal everything up.
If you’re in the Toronto area and you’re looking to have professionally install sod, contact ISR Gardening Inc.
Be the Neighbor Everyone Envies
Cultivating your dream lawn may be easier than you think. Sodding is a fast and effective way to install grass without going through the hassle of growing anything. This guide will help you choose and install the perfect sod.
Be sure to look through our site for more lawn care and gardening tips, DIY projects, and ideas for getting rid of common pests.
Reply